How to Assemble a Feather Flag: Step-by-Step with Visual Instructions
If you're looking for a quick, visual guide to assemble your feather flag without the hassle, you're in the right place. This tutorial breaks down the process using clear, step-by-step instructions inspired by our detailed GIF walkthrough, ensuring your flag is set up correctly and looks professional. Perfect for beginners and marketers aiming to avoid common assembly mistakes!
Tools You'll Need
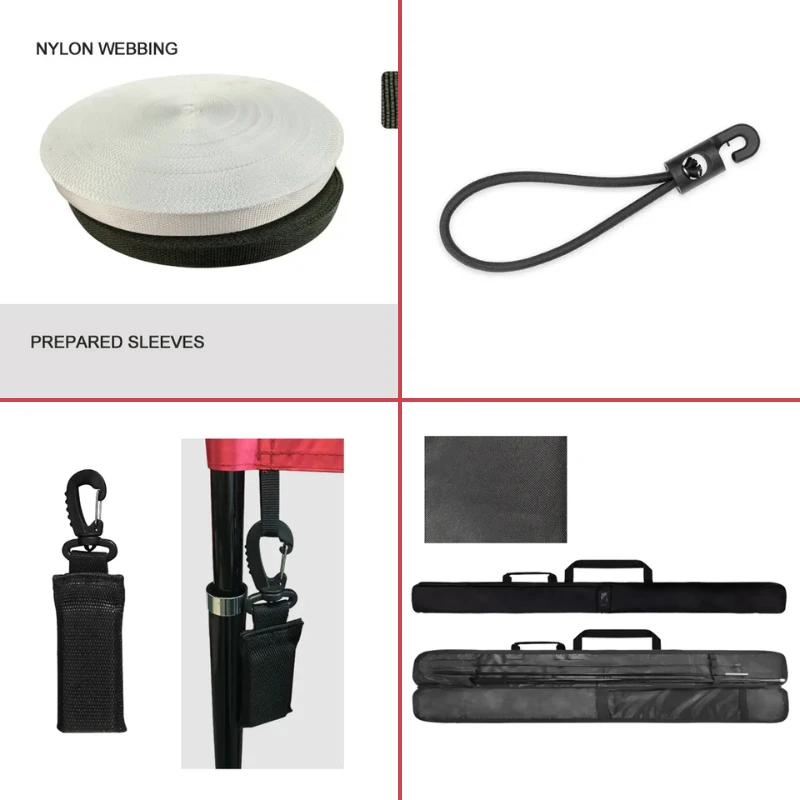
Before you start, gather these essentials (most come with your flag kit):
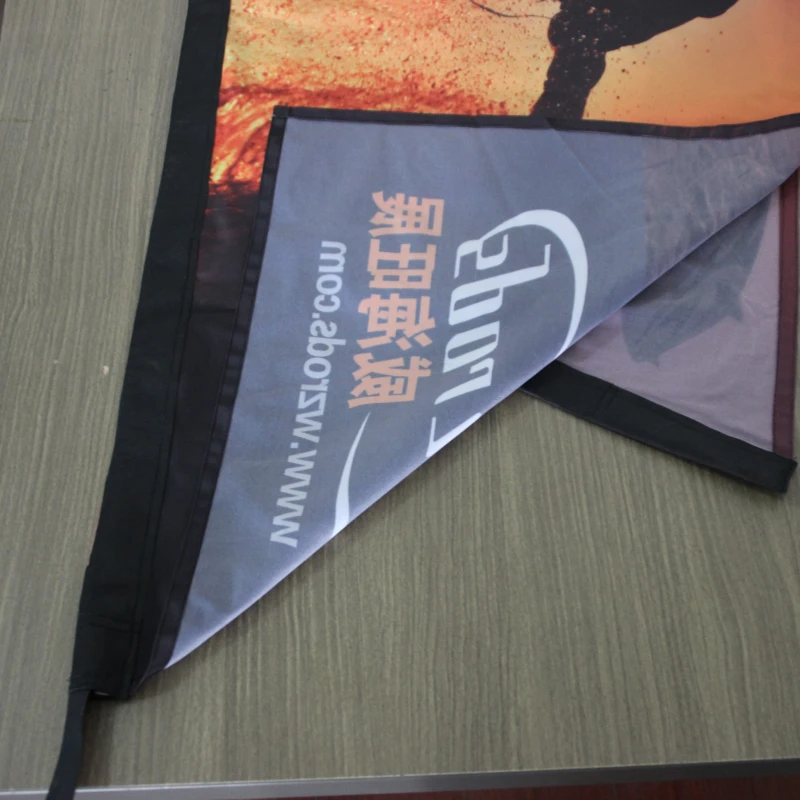
- Feather flag banner with sewn-in sleeve (the "trousers" in your GIF refer to this sleeve)
- Segmented flagpole (sections vary by size, usually 3-4 pieces, tapering from thick to thin)
- Bungee cord or elastic rope (typically included with the flag)
- Base accessory (ground stake, crossbase, or weighted stand – choose based on your setup location)

5 Key Assembly Steps (with GIF-Inspired Instructions)
Follow these visuals-driven steps to assemble your flag smoothly:
Step 1: Organize Flagpole Sections by Thickness
Start by laying out the flagpole sections in order from thickest to thinnest (the thickest section is the base, the thinnest is the top). This ensures proper insertion into the flag's sleeve.
- Why it matters: Assembling from thick to thin makes it hard to handle long poles (e.g., 6-7m) during insertion. Starting with thinnest sections allows easier, stage-by-stage threading through the sleeve.

Step 2: Insert First Two Sections into the Flag Sleeve
Take the two thin pole sections and slide them into the flag's sleeve (the long fabric tube on the flag's side). Push them through until the end of the second section is about 6-8 inches from the sleeve's opening.
- Pro Tip: Ensure the flag’s top pointed end aligns with the thinnest pole section – this confirms proper orientation (most flags have a sewn sleeve that only fits one way, making reversal impossible).

Step 3: Add Remaining Sections Until the Pole Reaches the Sleeve Flap
Continue inserting the thicker pole sections one by one, pushing each through the sleeve until the top of the pole reaches the flap at the end of the sleeve (this flap prevents the pole from slipping out).
- Key Detail: Ensure each section clicks or locks into place if your pole has connectors. Loose sections will make the flag wobble.

Step 4: Adjust the Bungee Cord for an Even Flag Surface
Thread the bungee cord through the webbing loop sewn at the bottom of the flag (this loop is usually near the base of the sleeve). Pull the cord gently to tighten, ensuring the flag's fabric lies flat without wrinkles.
- Tension Rule: "Not too tight, not too loose" – over-tightening can stretch the fabric, while loose cords cause sagging. Aim for a slight tautness that keeps the flag smooth but allows natural movement in wind.

Step 5: Secure the Bungee Cord to the Base Hook
Tie the bungee cord into a double knot and hook it onto the designated loop or hook on your flag's base (this could be a metal hook on a ground stake or crossbase). Double-check that both the pole and cord are secure.
- Stability Check: Gently pull the flag to test if it stays upright. Wobbly? Add weights to the base or adjust the cord tension.

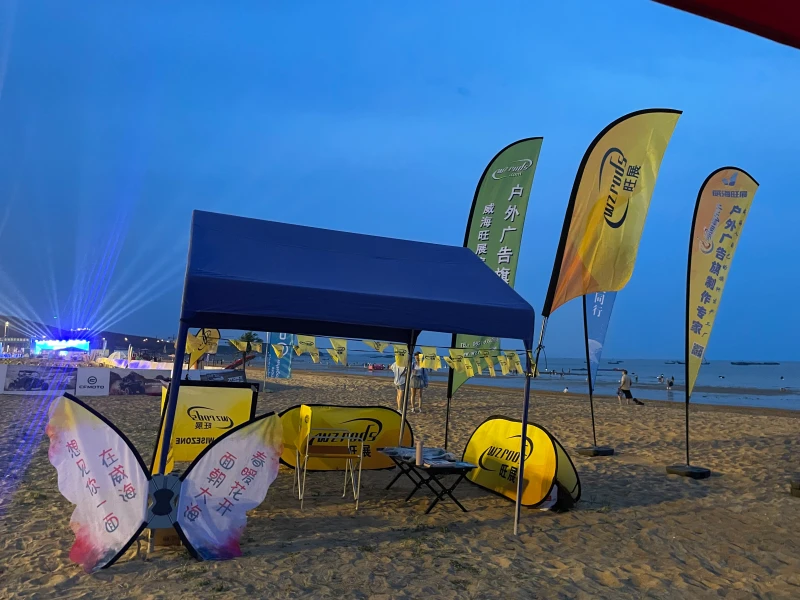
Benefits of Feather Flags
Feather flags are versatile, eye-catching, and easy to set up. They’re perfect for:
- Promoting businesses or events
- Directing foot traffic at festivals
- Enhancing visibility for outdoor booths or stalls
- Adding decorative elements to storefronts or outdoor spaces
With minimal flag installation time and durable designs, feather flags are an excellent investment for effective advertising or event decoration.

Bonus: Wind-Resistant Setup Tips
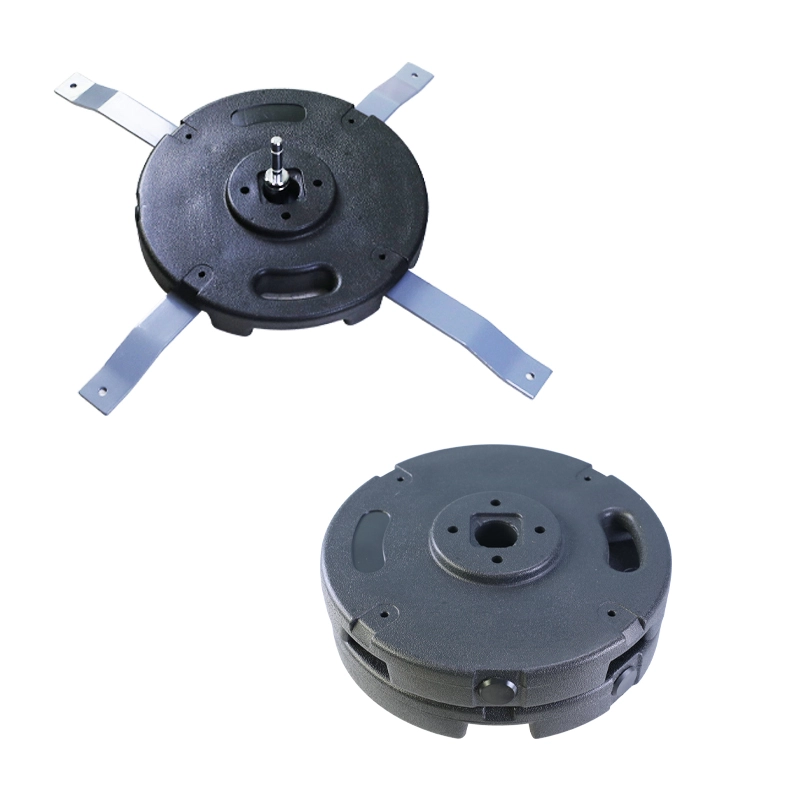
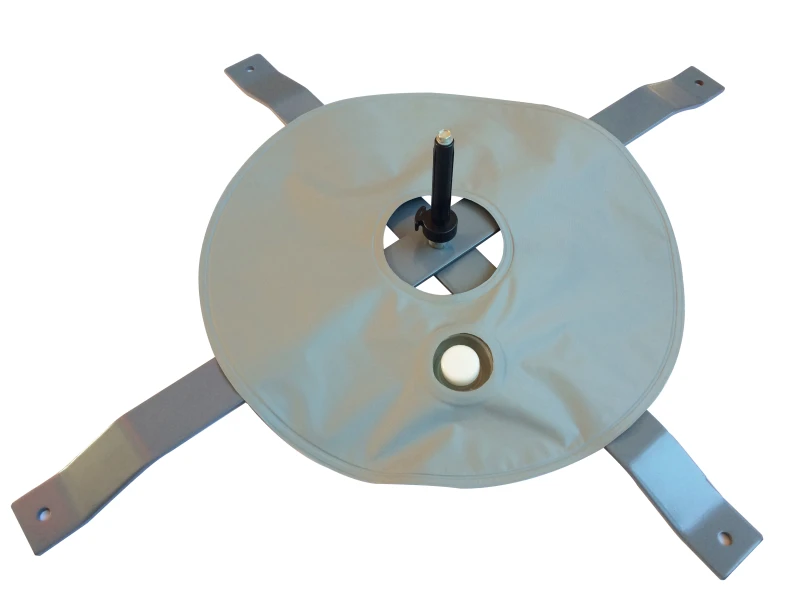
- Soft Ground: Use a metal stake and hammer it 6-12 inches into the ground for stability.
- Hard Surfaces: Attach the flag to a crossbase and add sandbags or water weights.
- High Wind Areas: For strong winds, add a water tank or concrete base to the flagpole’s foundation – these heavy-duty bases provide stability and resist tipping, reducing strain on the flag and pole.
Maintenance for Longevity
- Cleaning: Wipe the flag with a damp cloth.
- Storage: Disassemble the pole and roll the flag loosely (avoid folding to prevent creases). Store in a dry, cool place.
- Replace Worn Parts: Check bungee cords and pole connectors seasonally – frayed cords or cracked plastic can cause failures.
Need a Visual Reminder?
Refer to our accompanying GIF tutorial for a quick replay of these steps, or download our free assembly checklist to keep on hand. Have a unique setup challenge? Leave a comment – we’re here to help!
By following these GIF-guided steps, you’ll have your feather flag standing tall and eye-catching in minutes. Perfect for events, storefronts, or outdoor marketing – no technical skills required!
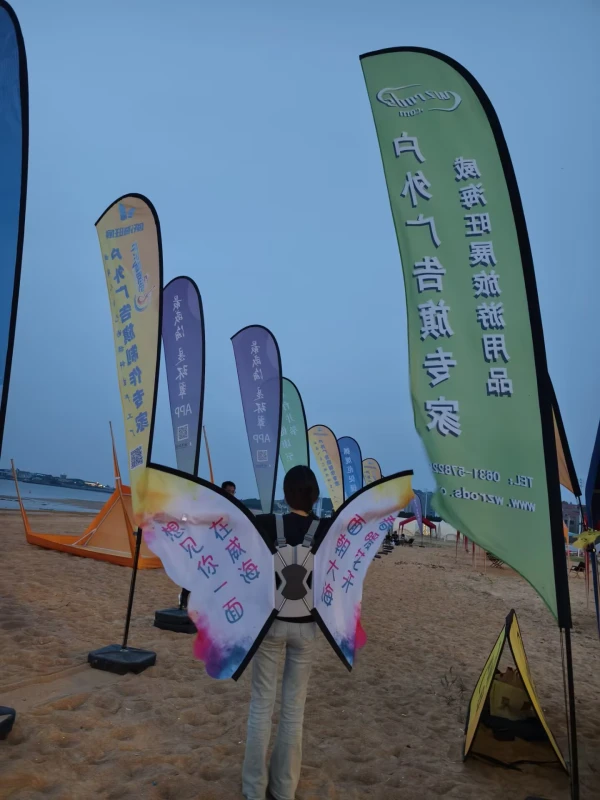
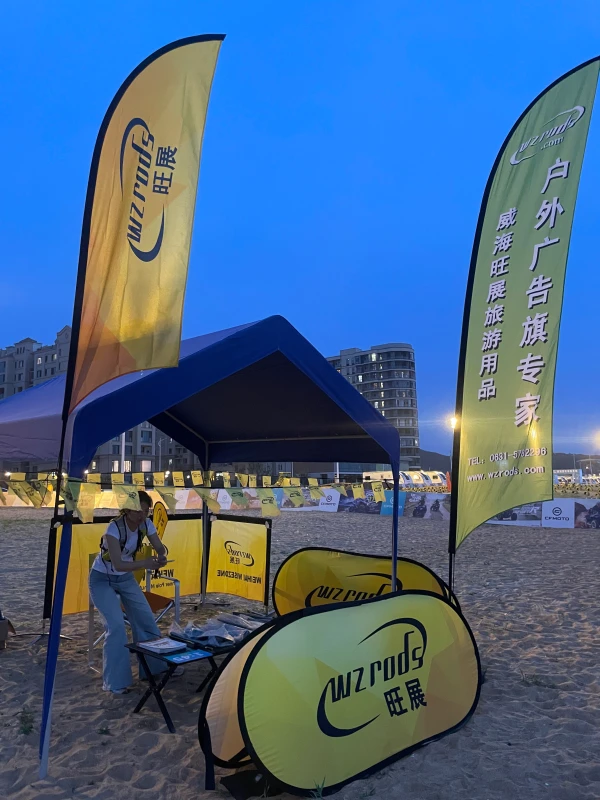
- Feather Flags
- Teardrop Flags
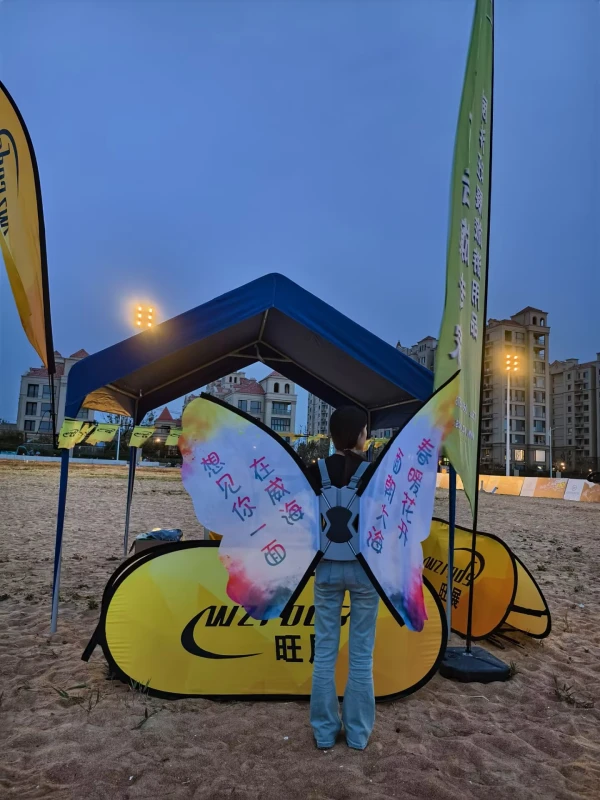
- Backpack Banners
- Feather Flags
- Backpack Banners
- Pop up Banners
- Cafe Barrier
- Feather Flags
- Pop up Banners
- Pacer Flag Backpack